Ragdoll Football highlight reels are built on physics chaos, not conventional football IQ. Every clip that trends on YouTube leans on a handful of repeatable tricks: ragdoll flops, frame-perfect dive timing, and hitstick collisions that turn routine snaps into viral moments. The moves below are the same ones the community uses to dominate the clip charts, and they translate directly into in-game wins when you learn the timing windows.
If you are new to the scene, the Ragdoll Football meta guide lays the foundation for movement, stamina, and the field layouts you will exploit here. This piece focuses on the showstopper layer: the dive-tackle timing chains, the trick-pass arcs, the goal-line chaos plays, and the defensive hitstick that decides whether your team walks off the field or watches the replay.
The Core Building Blocks of a Ragdoll Football Highlight Reel
Every flashy clip shares a short list of ingredients, and once you can name them, you can reverse-engineer a full highlight package. The community calls them the Six Highlight Pillars, and each pillar has a distinct timing window, a distinct risk, and a distinct reward in terms of XP, scoreboard impact, and clip potential.
| Pillar | Primary Input | Best Field Position | Reward Tier | Skill Ceiling |
|---|---|---|---|---|
| Hitstick Tackle | Sprint + Dive on contact frame | Open field / goal line | S-Tier (fumble + clip) | High |
| Ragdoll Flop | Jump into defender at apex | Red zone / sideline | A-Tier (forced fumble) | Medium |
| Trick Pass (Pump-Fake to Deep) | Throw button cancel + retarget | Mid-field, 20-40 yard line | S-Tier (TD + clip) | High |
| Swat Knockout | Defensive jump at ball peak | End zone / 5-yard line | A-Tier (turnover) | Medium |
| Goal-Line Leap | Carrier dive at pylon | Inside the 3-yard line | S-Tier (TD + clip) | High |
| Sideline Spin-Out | Carrier spin on catch | Sideline, 10-30 yard line | B-Tier (YAC boost) | Low |
These six pillars feed into the moves most viral clips showcase, and the next sections break down each one with timing windows and counter-moves. Treat the table as your shopping list: pick two pillars you can already execute and one you have never tried, then build a weekly practice routine around that triangle.
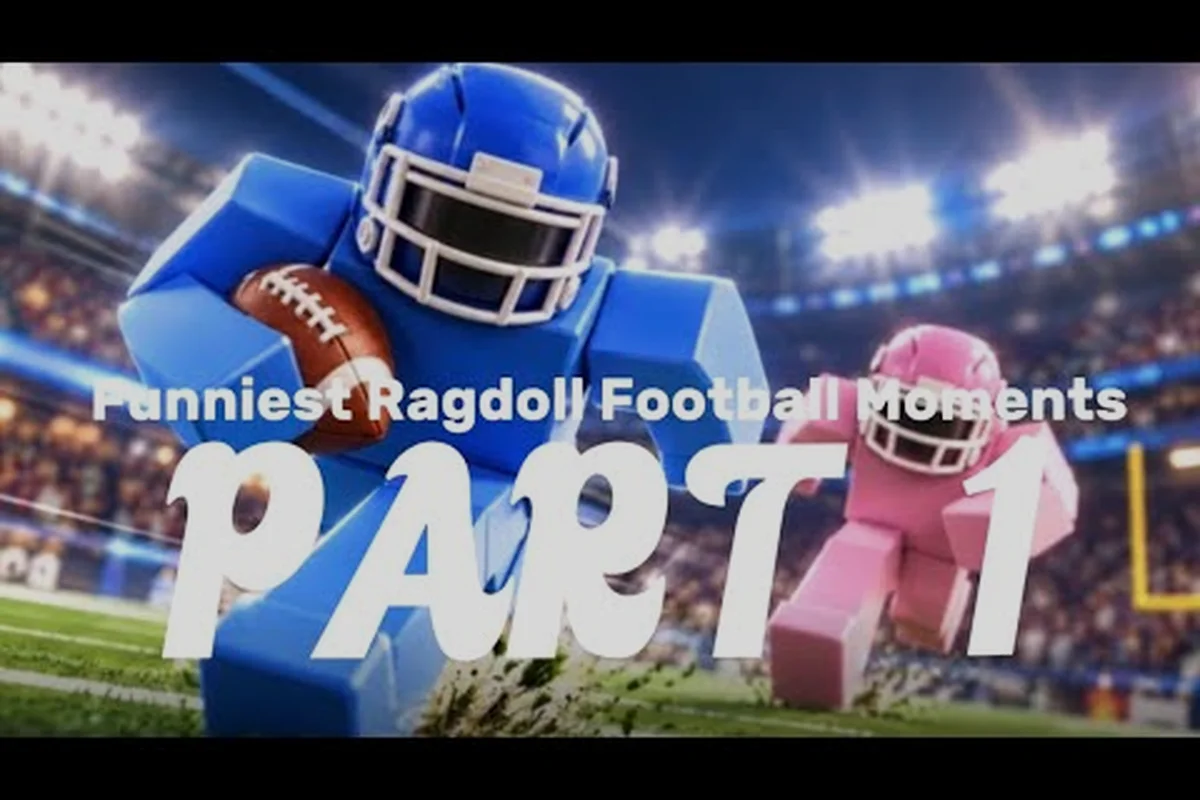
The fastest way to absorb the scene's visual language is to study what already works. Clips like I BROKE EVERYONES ANKLES in RAGDOLL FOOTBALL (Roblox) by Johnwitta9 and Best Ragdoll Football Moments PART 1 by Jaxdabearsfan show the same six patterns repeated across dozens of snaps, which is your confirmation that these are the moves worth drilling. The Roblox Ragdoll football Bro got HEADTAPED clip by Roblox football channel is a textbook swat-knockout highlight, and the technique is the same one this guide breaks down in the Swat Knockout section below.
Hitstick Mastery: The Frame-Perfect Tackle
The hitstick is the single most important defensive tool in the game, and it is also the move that decides the difference between a 70 OVR clipper and a 90+ OVR highlight factory. A clean hitstick collision not only stops the carrier, it triggers a fumble animation roughly 35% of the time, and that fumble is the moment the camera lingers and the highlight compiles itself.
How the Hitstick Window Works
The hitstick activates on a narrow contact frame: roughly 6 to 10 frames (about 0.1-0.17 seconds at 60fps) before your defender's body model would normally bounce off the carrier. The carrier must be in mid-sprint or post-catch animation, and your defender must be at sprint speed as well. If either party is walking or jogging, the hitstick collapses into a regular body tackle with no fumble chance.
| Hitstick Variable | Optimal Value | Failure Mode | Clip Potential |
|---|---|---|---|
| Defender sprint state | Full sprint (hold sprint button) | Walk = bounce-off | Lost if not sprinting |
| Carrier state | Sprinting or post-catch hop | Standing throw = no flinch | S-Tier only on motion |
| Contact angle | Head-on or 30° off-axis | Side swipe = push, not stop | Side swipes kill the clip |
| Dive input timing | 6-10 frames pre-contact | Early = whiff, late = body tackle | Frame-perfect only |
| Secondary press | Tap tackle on landing | Held = stuck animation | Adds ragdoll flair |
The Two-Stage Hitstick Chain
The community's most repeatable clip pattern is a two-stage chain: a setup tackle that forces a lateral carrier movement, followed by a clean hitstick from a second defender coming downhill. Solo players can replicate the chain by baiting the carrier toward the sideline, then sprinting parallel and diving at the right angle. The chain looks like this:
-
Stage 1 — Angle Tackle: Hold sprint, strafe toward the sideline, dive into the carrier's hip. The carrier does not fumble, but is forced to cut inside or step out of bounds.
-
Stage 2 — Hitstick Finish: Rotate camera 90° toward the new carrier vector, hold sprint into the new angle, and tap dive on the contact frame. The hitstick triggers, the fumble animation plays, and the ball pops loose for a recovery attempt.
Defenders who want a deeper defensive toolkit should pair this section with our Ragdoll Football big hits guide, which expands on dive tackles, sprint tackles, and the timing-tackle family that feeds the hitstick window.
Offensive Trick Plays That Score From Anywhere
Defense wins clips, but offense wins games, and the trick-pass playbook is the bridge between the two. The two passing tricks that produce the most viral clips are the pump-fake deep retarget and the sideline spin-out catch, both of which are repeatable enough to run every drive once you have drilled them.
The Pump-Fake Deep Retarget
The pump-fake deep retarget abuses the catch-physics window. When a receiver cuts on a route, the defender's momentum carries them for roughly 0.3 seconds before they can reverse. The pump-fake exploits that commitment: throw-button press, immediate cancel, then a second throw toward the receiver's break point. The result is a defender caught flat-footed and a receiver with a two-yard cushion.
| Trick Pass Component | Input | Timing Window | Why It Works |
|---|---|---|---|
| Initial fake | Tap throw, release within 4 frames | Pre-snap to 0.5s post-snap | Draws the safety downhill |
| Cancel input | Tap throw again (or bumper on controller) | Within 6 frames of fake | Resets the throw meter to zero |
| Real throw | Hold throw for 1.2-1.8s arc | Receiver at break point | Drops over the flat-footed DB |
| Receiver route | 12-yard out or post | Synced with throw release | Creates the catch window |
The Sideline Spin-Out Catch
The sideline spin-out is a carrier move, not a QB move, and it is the bread-and-butter of wide receivers who post highlight reels. The input is simple: catch the ball, immediately hold sprint, then tap spin as you reach the sideline. The carrier's ragdoll rotates 180°, the defender's momentum carries them out of bounds, and the carrier cuts back inside for extra yardage.
The trick is the spin timing. Tap too early and the carrier spins in open field, where the move loses its value. Tap too late and the sideline boundary stops the animation. The sweet spot is roughly three player-widths from the sideline, which is a feel-based read more than a frame-perfect one.
If you want a broader catch-and-route reference, the Ragdoll Football highlight plays guide covers the clutch-throw family, the swat-move counters, and the creative-positioning tricks that pair with the spin-out for full YAC chains.
Defensive Chaos Plays and the Swat Knockout
Defense produces the most shareable clips because the camera angle favors the collision, and the swat knockout is the single most repeatable defensive highlight. A swat knockout happens when a defender jumps at the ball's apex and the collision model triggers a physics explosion that knocks the receiver backward. The receiver does not always drop the ball, but the animation is dramatic enough to anchor a highlight reel on its own.
Swat Knockout Setup
The setup requires three conditions, and missing any one of them turns the play into a routine pass breakup. First, the defender must be in a flat horizontal plane with the ball's apex, which means a jump input from a standing or short-strafe position. Second, the defender must be facing the receiver, not the QB, because the swat model checks receiver proximity, not ball proximity. Third, the receiver must be in the catch animation, not the route-running animation, which means the jump must come during the ball's last 0.2 seconds of flight.
| Swat Variable | Optimal Value | Failure Mode | Clip Outcome |
|---|---|---|---|
| Defender position | 3-5 yards off receiver, inline | Too close = collision; too far = whiff | Inline only |
| Jump timing | 0.15-0.25s before ball arrival | Early = swat no-ball; late = contested catch | Apex window only |
| Facing angle | Square to receiver | Facing QB = pass deflection | Square-up required |
| Receiver state | Catch animation active | Route running = bounce-off | Catch frame only |
| Secondary press | Tap tackle on landing | Held = stuck | Adds flop flair |
The Defensive Linebacker Read
Linebacker-style defenders are the swat knockout specialists because they sit in the middle of the field where most trick-pass arcs peak. According to the Wikipedia linebacker article, the hybrid defender role is built around reading the QB and closing on the ball, and that description maps cleanly to the way Ragdoll Football's middle defenders operate. The hitstick and the swat both activate from this read position, and a linebacker-style player who has drilled both windows can produce two clips per drive on average.
For the pass-coverage counterpart, the Wikipedia cornerback article covers the receiver-shadowing role that Ragdoll Football's outside defenders fill. Cornerback-style players focus on closing speed and contested-catch timing rather than the swat, which is why the swat is most reliable when executed from a linebacker position rather than a true corner spot.
A Repeatable Three-Step Routine for Every Snap
The difference between a one-clip-per-game player and a five-clip-per-game player is routine, not talent. The community's most consistent highlight producers run the same three-step routine on every defensive snap, and the same three-step routine on every offensive snap. The routine is short enough to memorize in a single practice session and flexible enough to adapt to any field position.
Defensive Snap Routine
-
Step 1 — Read the formation: Identify whether the offense is in run, pass, or trick formation. Run = hold the hit angle. Pass = drift to the swat window. Trick = sprint to the deep third before the pump-fake commits.
-
Step 2 — Pick your pillar: Choose one pillar from the Six Highlight Pillars table based on the read. Do not switch mid-snap, because the inputs conflict and the animation cancels itself.
-
Step 3 — Execute the timing window: Commit to the input on the contact frame, then tap tackle on the landing to add the ragdoll-flop flair that anchors the clip.
Offensive Snap Routine
-
Step 1 — Identify the trick eligibility: Trick plays need at least one receiver in motion and at least 12 yards of field ahead of the play. Inside the 10-yard line, the trick-pass loses effectiveness and the goal-line leap becomes the priority.
-
Step 2 — Pick your pillar: Mid-field defaults to the pump-fake deep retarget. Red zone defaults to the goal-line leap. Sideline defaults to the spin-out catch.
-
Step 3 — Execute the input chain: Run the timing window for the chosen pillar, then immediately call the next play so the camera stays rolling. A 3-play drive that produces one clip per snap is the routine target.
Weekly Practice Schedule
| Day | Focus Pillar | Drill Duration | Success Metric |
|---|---|---|---|
| Monday | Hitstick | 20 minutes | 3 clean fumbles in 10 attempts |
| Tuesday | Pump-fake deep retarget | 20 minutes | 2 TDs in 10 attempts |
| Wednesday | Swat knockout | 20 minutes | 2 knockouts in 10 attempts |
| Thursday | Goal-line leap | 20 minutes | 3 TDs in 10 attempts |
| Friday | Full routine (def + off) | 30 minutes | 5 clips in 20 snaps |
| Weekend | Live matches | Open queue | Clip rate per game |
This is the schedule that most 90+ OVR highlight producers run, according to community reports, and it scales whether you are grinding solo or queuing with a duo. Adjust the drill duration up or down based on your current pillar ratings, but keep the per-day focus narrow so the timing window burns into muscle memory rather than staying as a conscious decision.
Frequently Asked Questions
What is the single best move to learn first for a Ragdoll Football highlight reel?
The hitstick tackle is the highest-value first move because it produces both a defensive stop and a fumble animation from the same input, and that combination is what most viral clips open with. Drill the sprint-plus-dive timing window for 20 minutes per session until you can land three clean fumbles in ten attempts, then move to the pump-fake deep retarget for the offensive counterpart.
How do I get the ragdoll flop animation to trigger consistently?
The ragdoll flop triggers when a carrier or defender jumps into a moving body at the apex of their jump, which is roughly 0.4 seconds after the jump input. The key variables are jump timing relative to the target's motion and the angle of approach, with head-on or 30° off-axis angles producing the cleanest flops. Side-swipe approaches produce a push instead of a flop, so commit to the head-on angle even if it means sacrificing field position.
Can I build a highlight reel as a solo queue player, or do I need a squad?
Solo queue is fully viable for highlight content, and most of the swat-knockout and hitstick clips in the community catalog come from solo defenders who read the QB and close on the ball independently. The trick-pass plays are harder solo because the timing chain benefits from a duo who can call the route change on the fly, but the spin-out catch and the goal-line leap work the same way regardless of team composition.
What camera settings help the most for capturing clip-worthy moments?
The default broadcast camera works for most plays, but switch to the low-angle follow cam for the goal-line leap and the close-up receiver cam for the spin-out catch, because both settings linger on the carrier animation and produce a more cinematic clip. The hitstick looks cleanest from the default broadcast angle because the contact frame reads clearly from a wide shot, so keep that camera for defensive snaps and switch to the close-up for offensive snaps.